
Unleashing the Power of Barbie: A Masterclass in GTM Strategy for Cloud and AI Tech Businesses
Discover the groundbreaking strategies that have made Barbie’s Go-To-Market (GTM) approach absolutely amazing. Developed by our esteemed CMO Chaitra Vedullapalli, this post takes you behind...

Discover the Future of AI: 4 Mind-Blowing Conversations About ChatGPT in 2023
Welcome to the future of conversations! In 2023, ChatGPT has been making waves in the world of artificial intelligence, and we’ve got the inside scoop...
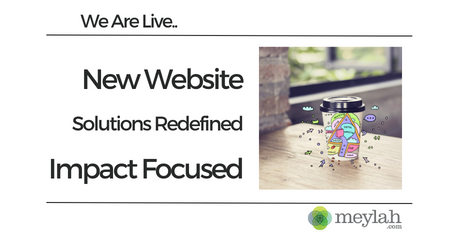
Discover the Future of Growth with Meylah’s Redesigned Website and New GTM Offerings
Meylah is excited to announce the launch of our newly refreshed website! We’ve been hard at work over the past several months to bring you...

Top 20 ideas to make your SAAS business more profitable
Running a business can be a challenge, and making it profitable can be even more difficult. There are many factors to consider, and it can...

Take your business to the next level with Meylah’s 5-Day Co-Sell Webinar with Microsoft Challenge
Learn how to plan and run a Microsoft Co-Sell Webinar Register now to Meylah’s new 5-Day Co-Sell Webinar with Microsoft Challenge! Are you ready to...

Learn how to build your Co-Sell Webinar Plan in 24 hours
Since the global pandemic started, the number of businesses adopting a more robust online presence and digital marketing has increased drastically. Especially for Cloud-based companies...

#CosellVelocity Inaugural Digital Marketing Summit | Jan18, 2022
Over the last 6 months we did lot of research on Cloud Cosell GTM as we were invited to do lot of GTM development for...
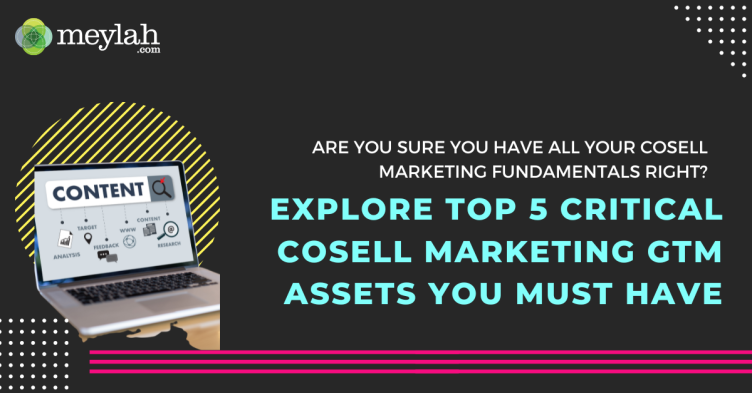
Top 5 Critical Cosell Marketing GTM Assets You Must Have
A conversation between Cosell Alliance managers always focuses on GTM assets, and this is usually a make-or-break partnership movement. You are judged by your knowledge...
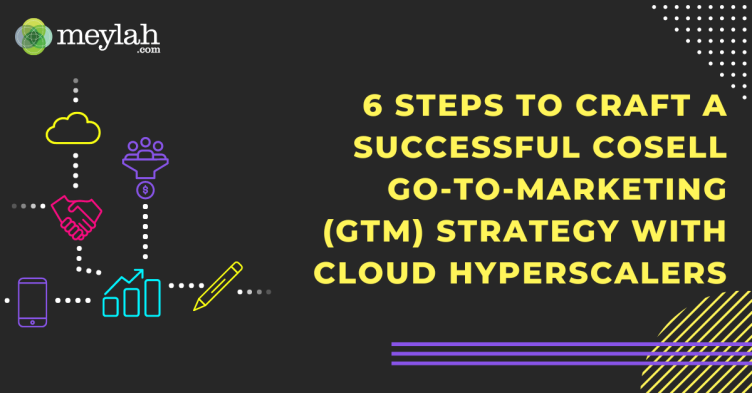
6 Steps to Craft a Successful Cosell Go-To-Marketing (GTM) Strategy with Cloud Hyperscalers
Nowadays, co-selling is becoming a common vocabulary for many cloud-based solution providers when having conversations with Cloud Hyperscalers. The data speaks for itself. Forrester predicts...
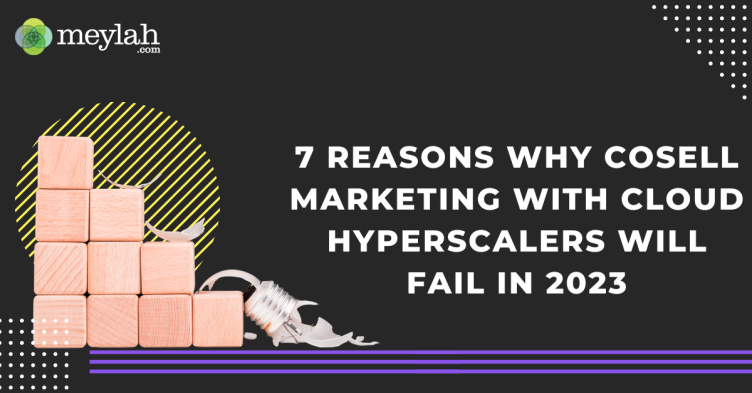
7 Reasons Why Cosell Marketing With Cloud Hyperscalers Will Fail in 2023
Back in 2017, Synergy Research Group released a report stating that, when it comes to cloud hyperscalers, only 24 companies fit the bill. Altogether, they...
A Case for Investing In Strategic Cosell GTM with Cloud Hyperscalers
Cloud hyperscalers are some of the most innovative and foundational companies out there, and the prospect of starting a partnership with one is an opportunity...
10 Commandments of Cloud Cosell Marketing with Hyperscalers
Not so long ago, the world was much different from how it is now. Economies were strong, opportunities abounded, and the future may seem somewhat...
 Get EXCLUSIVE INSIGHTS delivered straight to you.